
Microsoft released Visual Studio 2012 RC (Release Candidate) on 31st May 2012. This is the pre-release versions of the next release of Visual Studio.
In this blog post, I will share the installation experience of Visual Studio 2012 with you. The UI and installation steps changed drastically. Just go with it if you haven’t already installed this new IDE yet and try out the new Metro Style Application development.
Introduction to Visual Studio 2012
Microsoft Visual Studio 2010 has release version as 10, but Microsoft Visual Studio 2012 has release version as 11. So, if you read somewhere about Visual Studio 11 or Visual Studio 2012, remember that both are same. Visual Studio 2012 comes with .NET Framework 4.5. It also comes with other Visual Studio product templates like LightSwitch, Visual Basic, Visual C#, Visual C++, Visual F#, Microsoft Silverlight, Blend for Visual Studio 2012 and others.
Here is the “About” screen of Visual Studio 2012, check out the version number here:
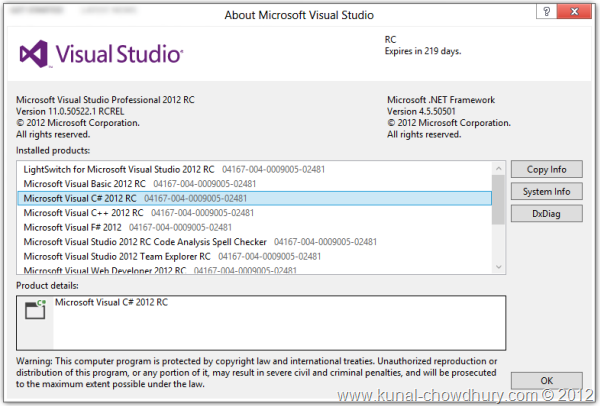
Let’s start installing the Visual Studio 2012 and check out the new installation experience of the same.
Installation Experience
Before installing the Visual Studio 2012 RC, you need to download the web installer or the complete ISO image of the DVD. If you didn’t yet download the same, you can get it from here: Download Visual Studio 2012 RC (Release Candidate). You can either chose the web installer or the ISO image. I always recommend downloading the ISO format, so that, you can use it anytime without any internet connection.
Let’s mount the ISO image as DVD drive and start the setup to install the Visual Studio 2012 RC. The first screen that comes up in the UI is the License Agreement screen. Here you can chose the installation path (go with the default path). Now you must have to accept the License Agreement before continuing with the installation process.
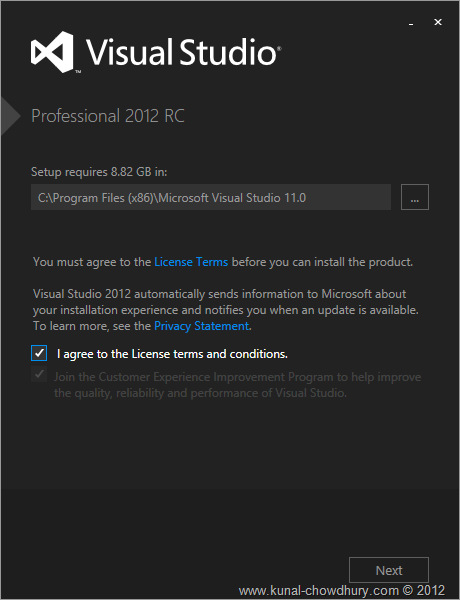
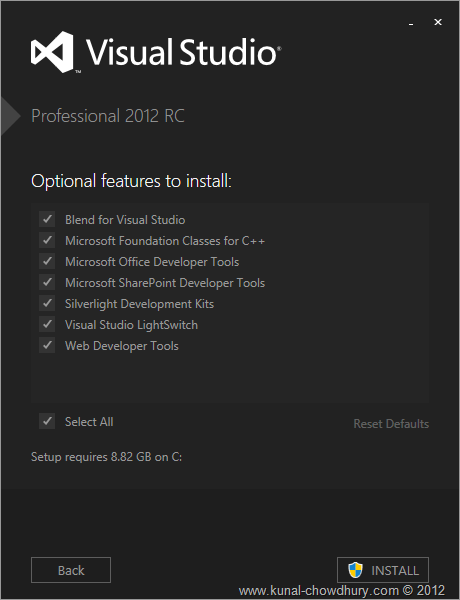
Click “Next” to proceed to the next screen. The second screen asks user to chose the optional features that will install along with the Visual Studio 2012. By default, all the options are selected. You can uncheck the features/products that you don’t want to install. Click “Install” to continue.
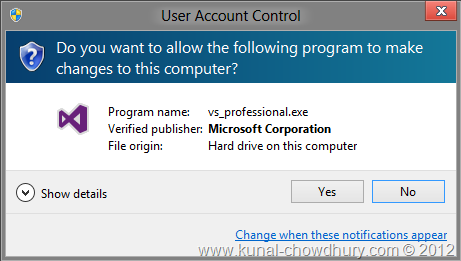
The installation process requires administrative privileges before starting the installation. This will popup the “User Account Control” in the screen and ask the user to confirm the installation. When the user clicks “Yes” it will proceed to the next screen.
The next screen consists of a progress bar which shows the progress of the installation. Please wait for few minutes until the installation completes and comes to the finish screen.
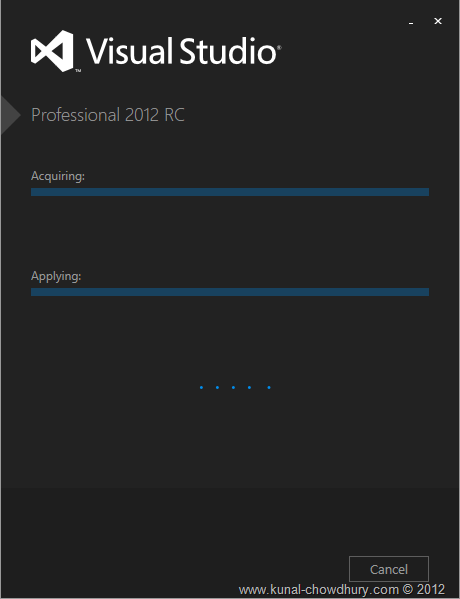
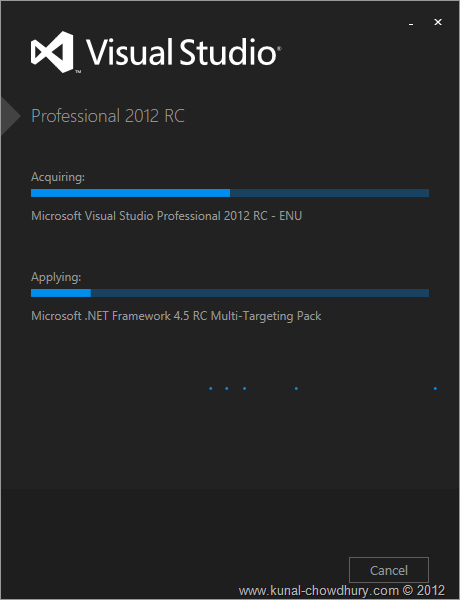
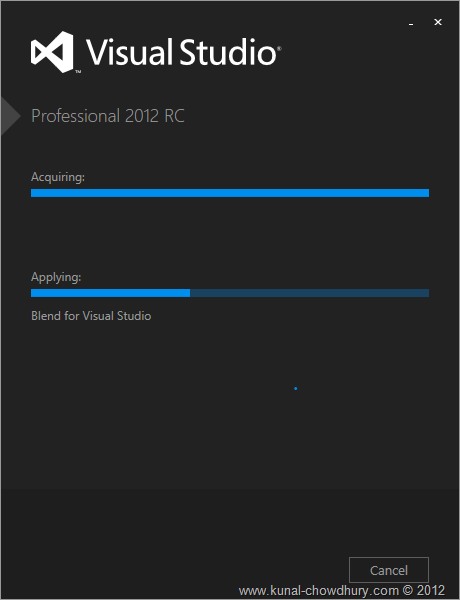
Once the installation completes successfully, it will come to the last screen where it will show you a message saying that the installation was successful. Here is the screenshot of the final screen:
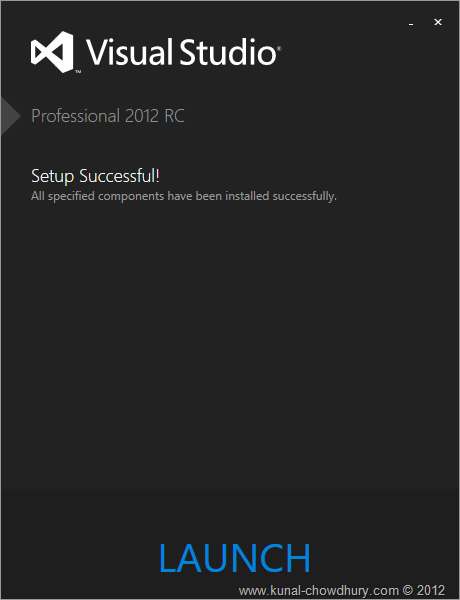
Click “Launch” to start the Visual Studio 2012 or you can close the screen and manually launch the Visual Studio 2012 IDE from the start screen.
For the first time, it will ask you to chose the default user settings environment. Once you chose the settings it will take few moments to load proper user settings.

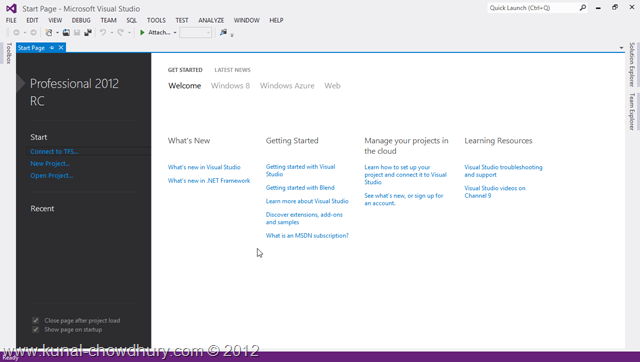
Once it loads proper settings information of the environment, it will show the Visual Studio 2012 Start Page in the screen as shown below:
I hope that, this blog post was informative to you. After reading this post, you will now be able to start with Visual Studio 2012 easily. Stay tuned with me to learn more about Windows 8 and Metro UI applications, as well as Windows Phone 7 application development.
Connect with me in Twitter, Facebook and Subscribe to the Newsletter or RSS Feed to get regular updates. Share this to your connection and leave a feedback about the post below. Thanks for reading this post. Cheers.


